Multimeter Continuity Doesnt Work for Resistor
A resistor is a two-terminal passive electronic component that resists, or limits, the flow of electrical current in a circuit. It's a critical component found in every circuit in various shapes and sizes to control the signal levels, divide voltage, implement biasing, protect other electronic components in the circuit, etc.
Thus, if a resistor fails or goes bad, it can lead to circuit failure and render the device unusable. This DIY guide will help you find a bad resistor without completely removing it from the circuit, and measure a resistor value with or without a multimeter.
Steps to Test a Resistor With a Multimeter
When a resistor fails, it usually gets charred or burns. As a result, it either stops conducting the electrical current/signal or does not resist the current flow. If you think that a resistor in the circuit has failed or need to test it, follow these steps.
Step 1: Switch Off Power Supply to the Circuit
Before you access or start testing the circuit for a bad resistor, you must unplug the device from the mains power as this can be lethal. If a battery powers the device, remove it as it can lead to false positives or indicate wrong values during the tests.
Step 2: Get a Multimeter
To test or find a bad resistor in a circuit, you need a multimeter with a resistance setting (preferably auto-ranging). If you already have a multimeter, switch the multimeter dial to resistance mode or the setting with the Ω (ohm) symbol.
If you have never used a multimeter or are a beginner, learn how to use a multimeter before you proceed.
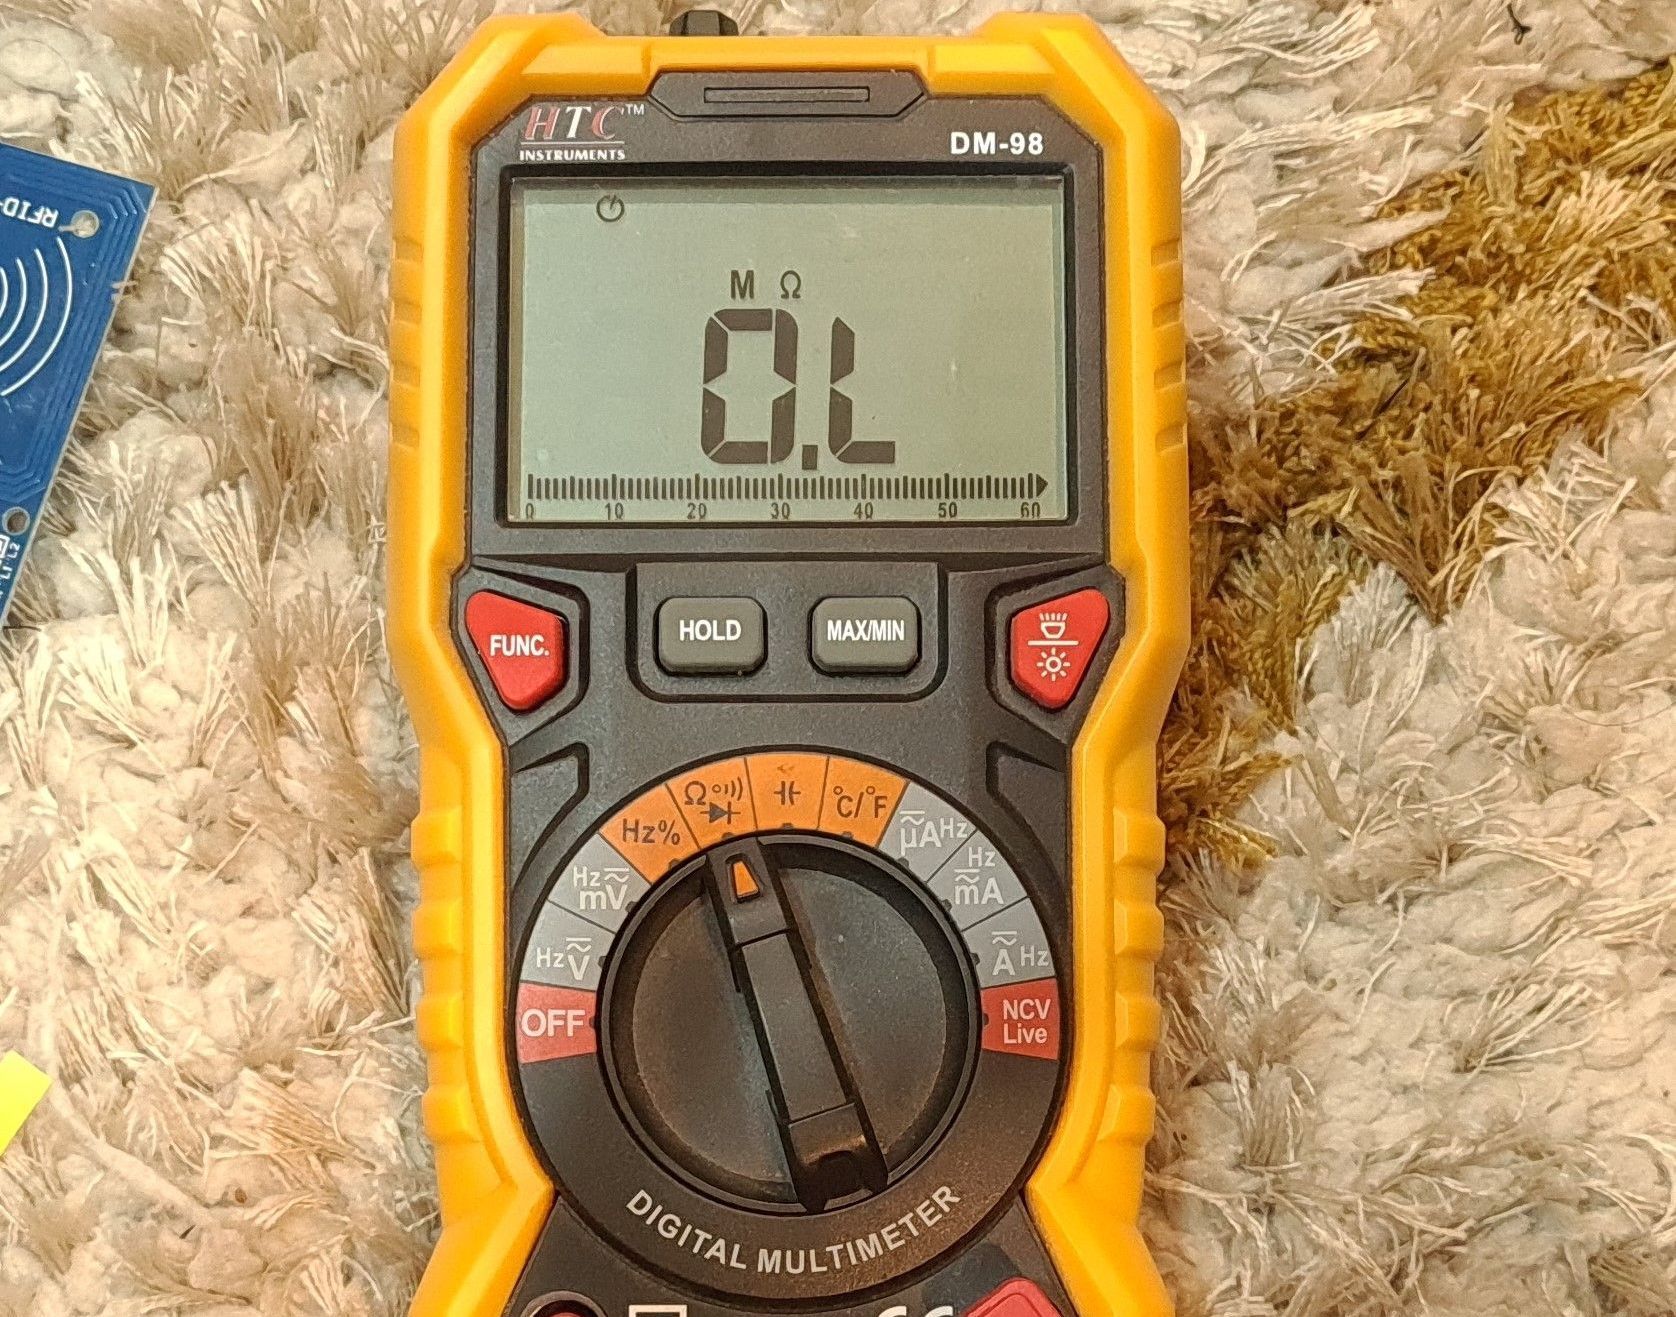
Also, check if there's a large capacitor in the circuit and discharge it by shorting its two terminals before measuring or testing the resistor. Shorting the capacitor terminals will fully discharge it and prevent the multimeter from getting damaged or displaying wrong values. Now you are ready to test the resistor in a circuit.
Step 3: Test or Measure the Resistor Value Using Multimeter
Connect the multimeter probes to the resistor on the circuit that you think is bad or looks charred or burnt. You can touch the probes to the resistor terminals or to the soldered joints on the board to test the resistor.
However, it is recommended that you desolder one of the resistor's terminals from the circuit to get the accurate test result and value. After connecting the probes to the resistor terminals, check the value on the multimeter.
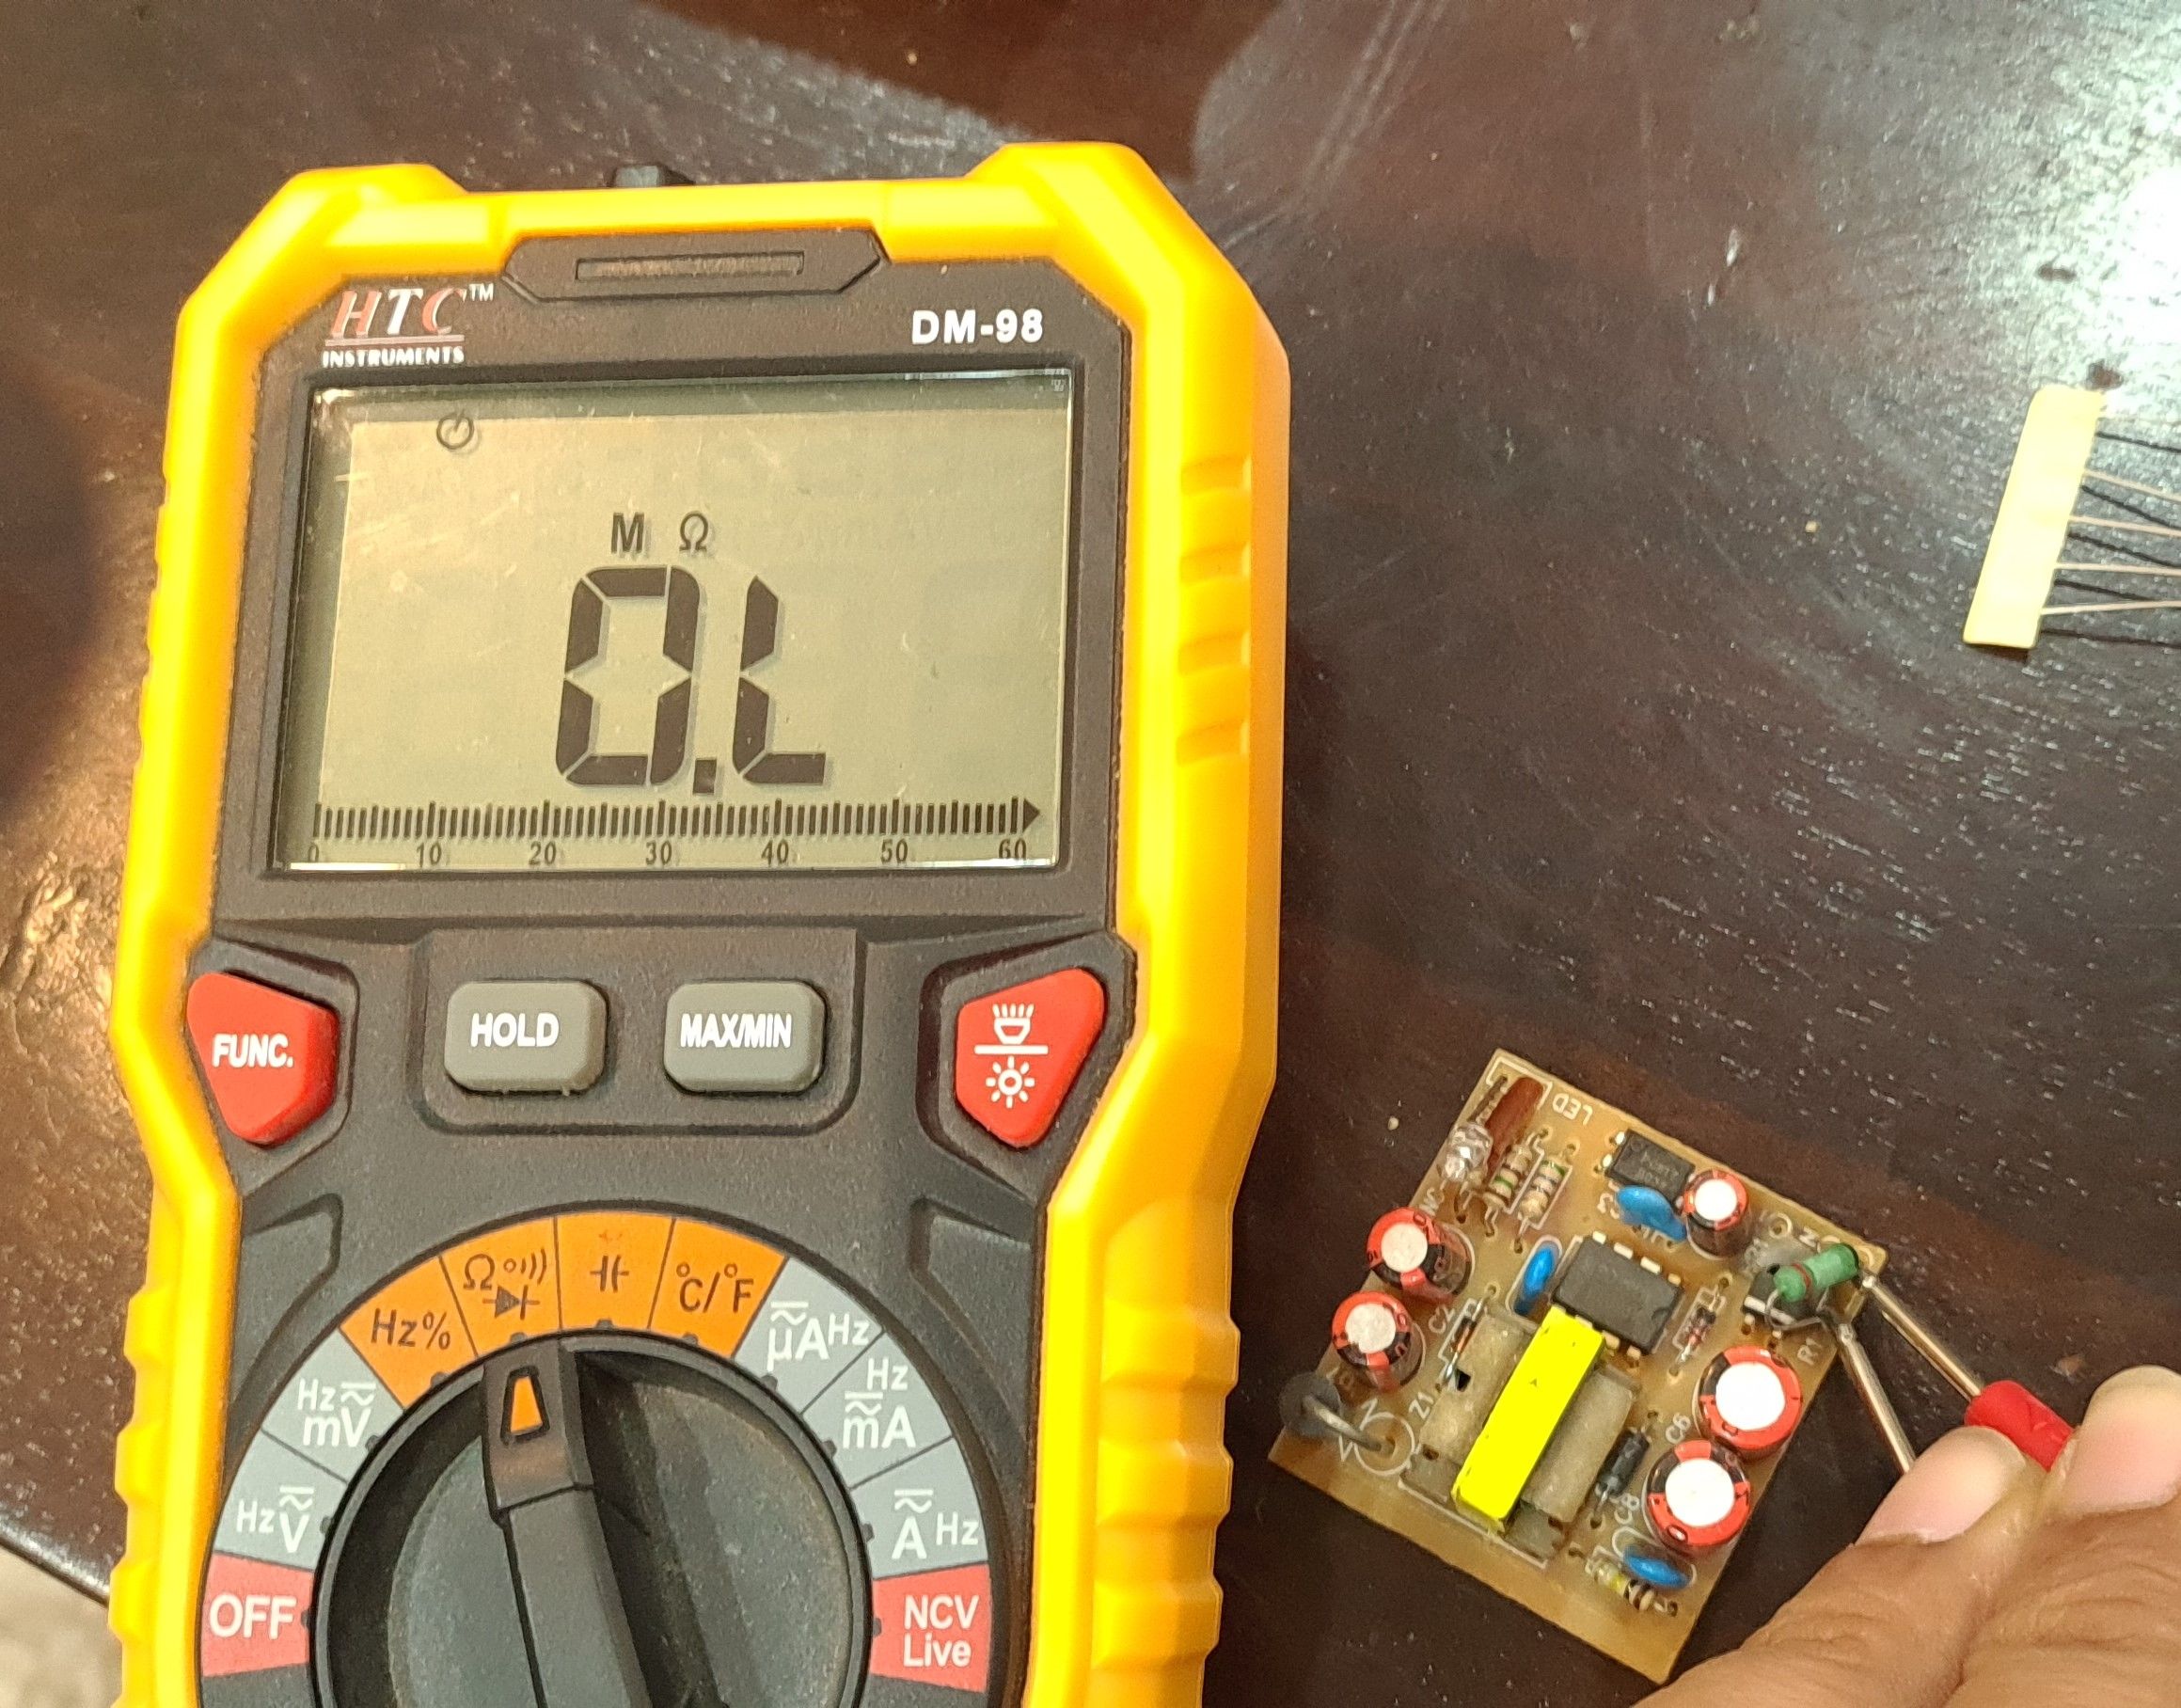
If the resistor is fine, the multimeter will show its value in Ω, kΩ, or MΩ. However, if the resistor is bad or damaged, the multimeter may display 0 or 1.
If the value 0 is displayed, the resistor is damaged, and the current can't pass through. If the value is 1, the resistor is damaged, allowing all current to pass through, i.e., it's no longer resisting the current flow. You need to replace the resistor with the same value resistor in both cases.
To test individual resistor values (outside a circuit), connect the multimeter probe wires to the resistor's two terminals—it doesn't matter which way round, as resistors are not directional components. Make sure the multimeter dial is in resistance measuring mode. Then check the value on the multimeter.
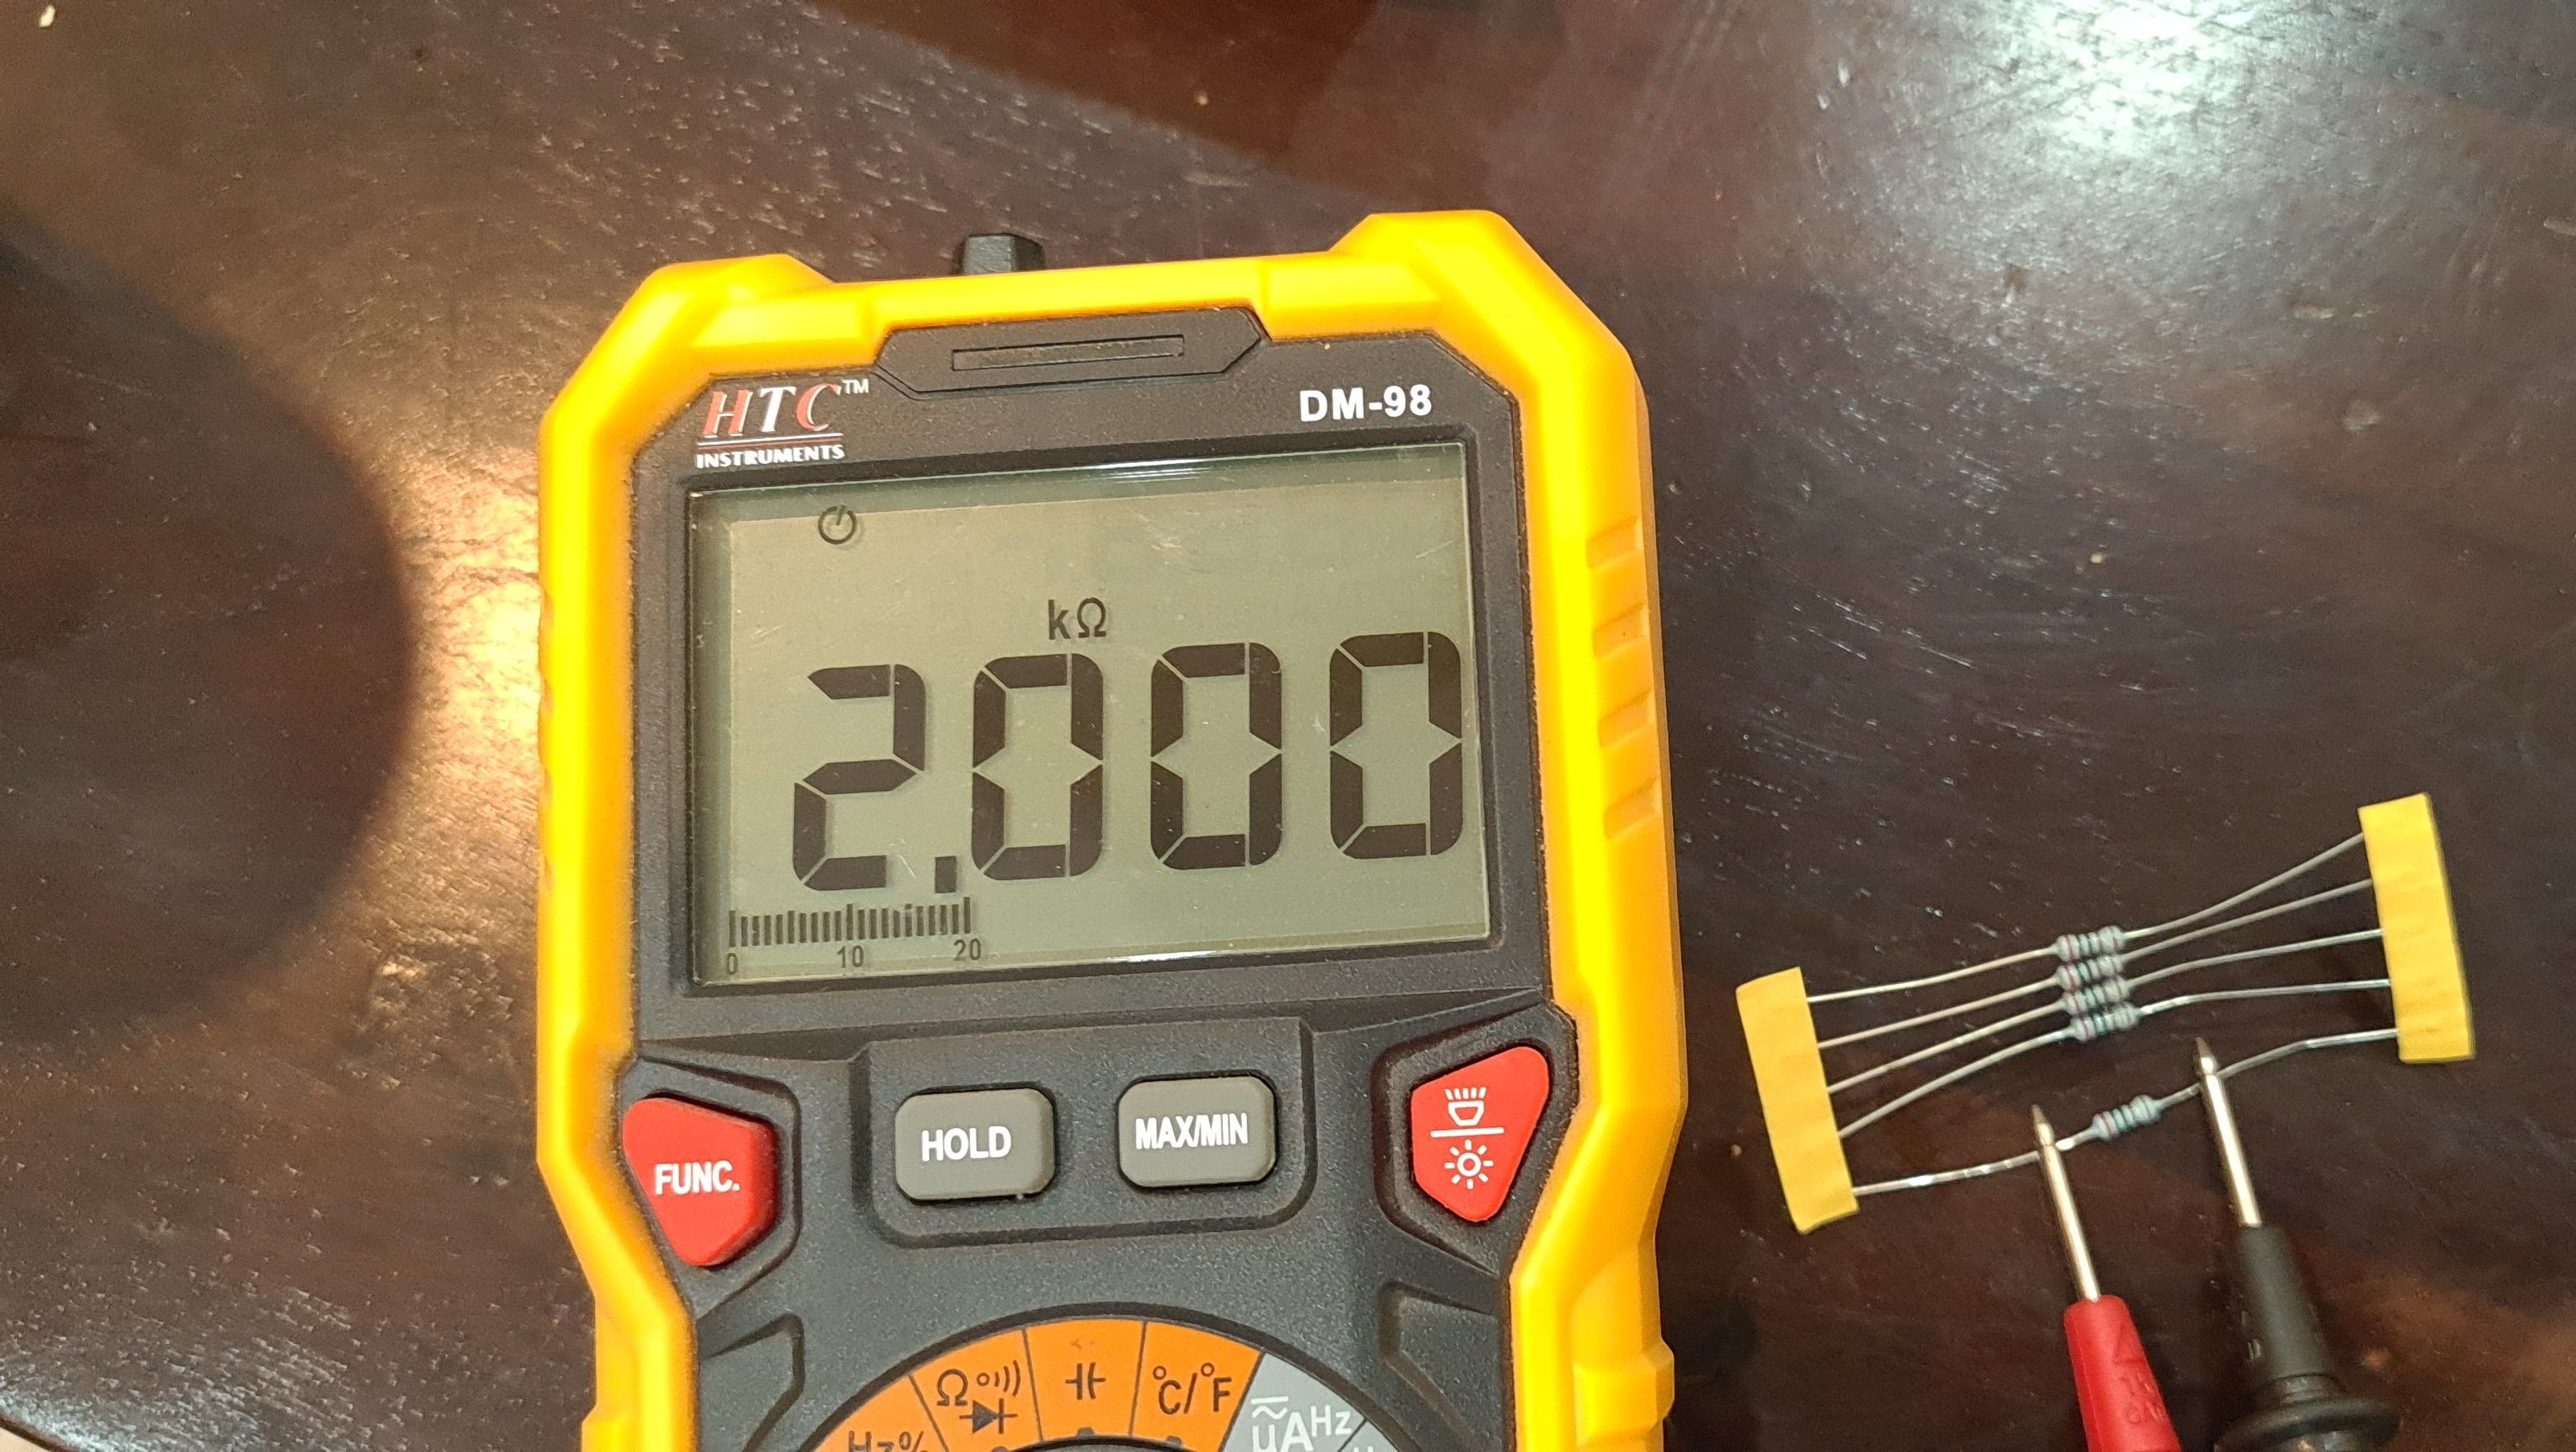
If you do not have an auto-ranging multimeter, the multimeter may display the value 1, indicating that the resistor value is too high to measure. In such a case, rotate the dial on the multimeter to higher resistance value settings. If it still displays 1, the resistor is probably damaged and needs to be replaced.
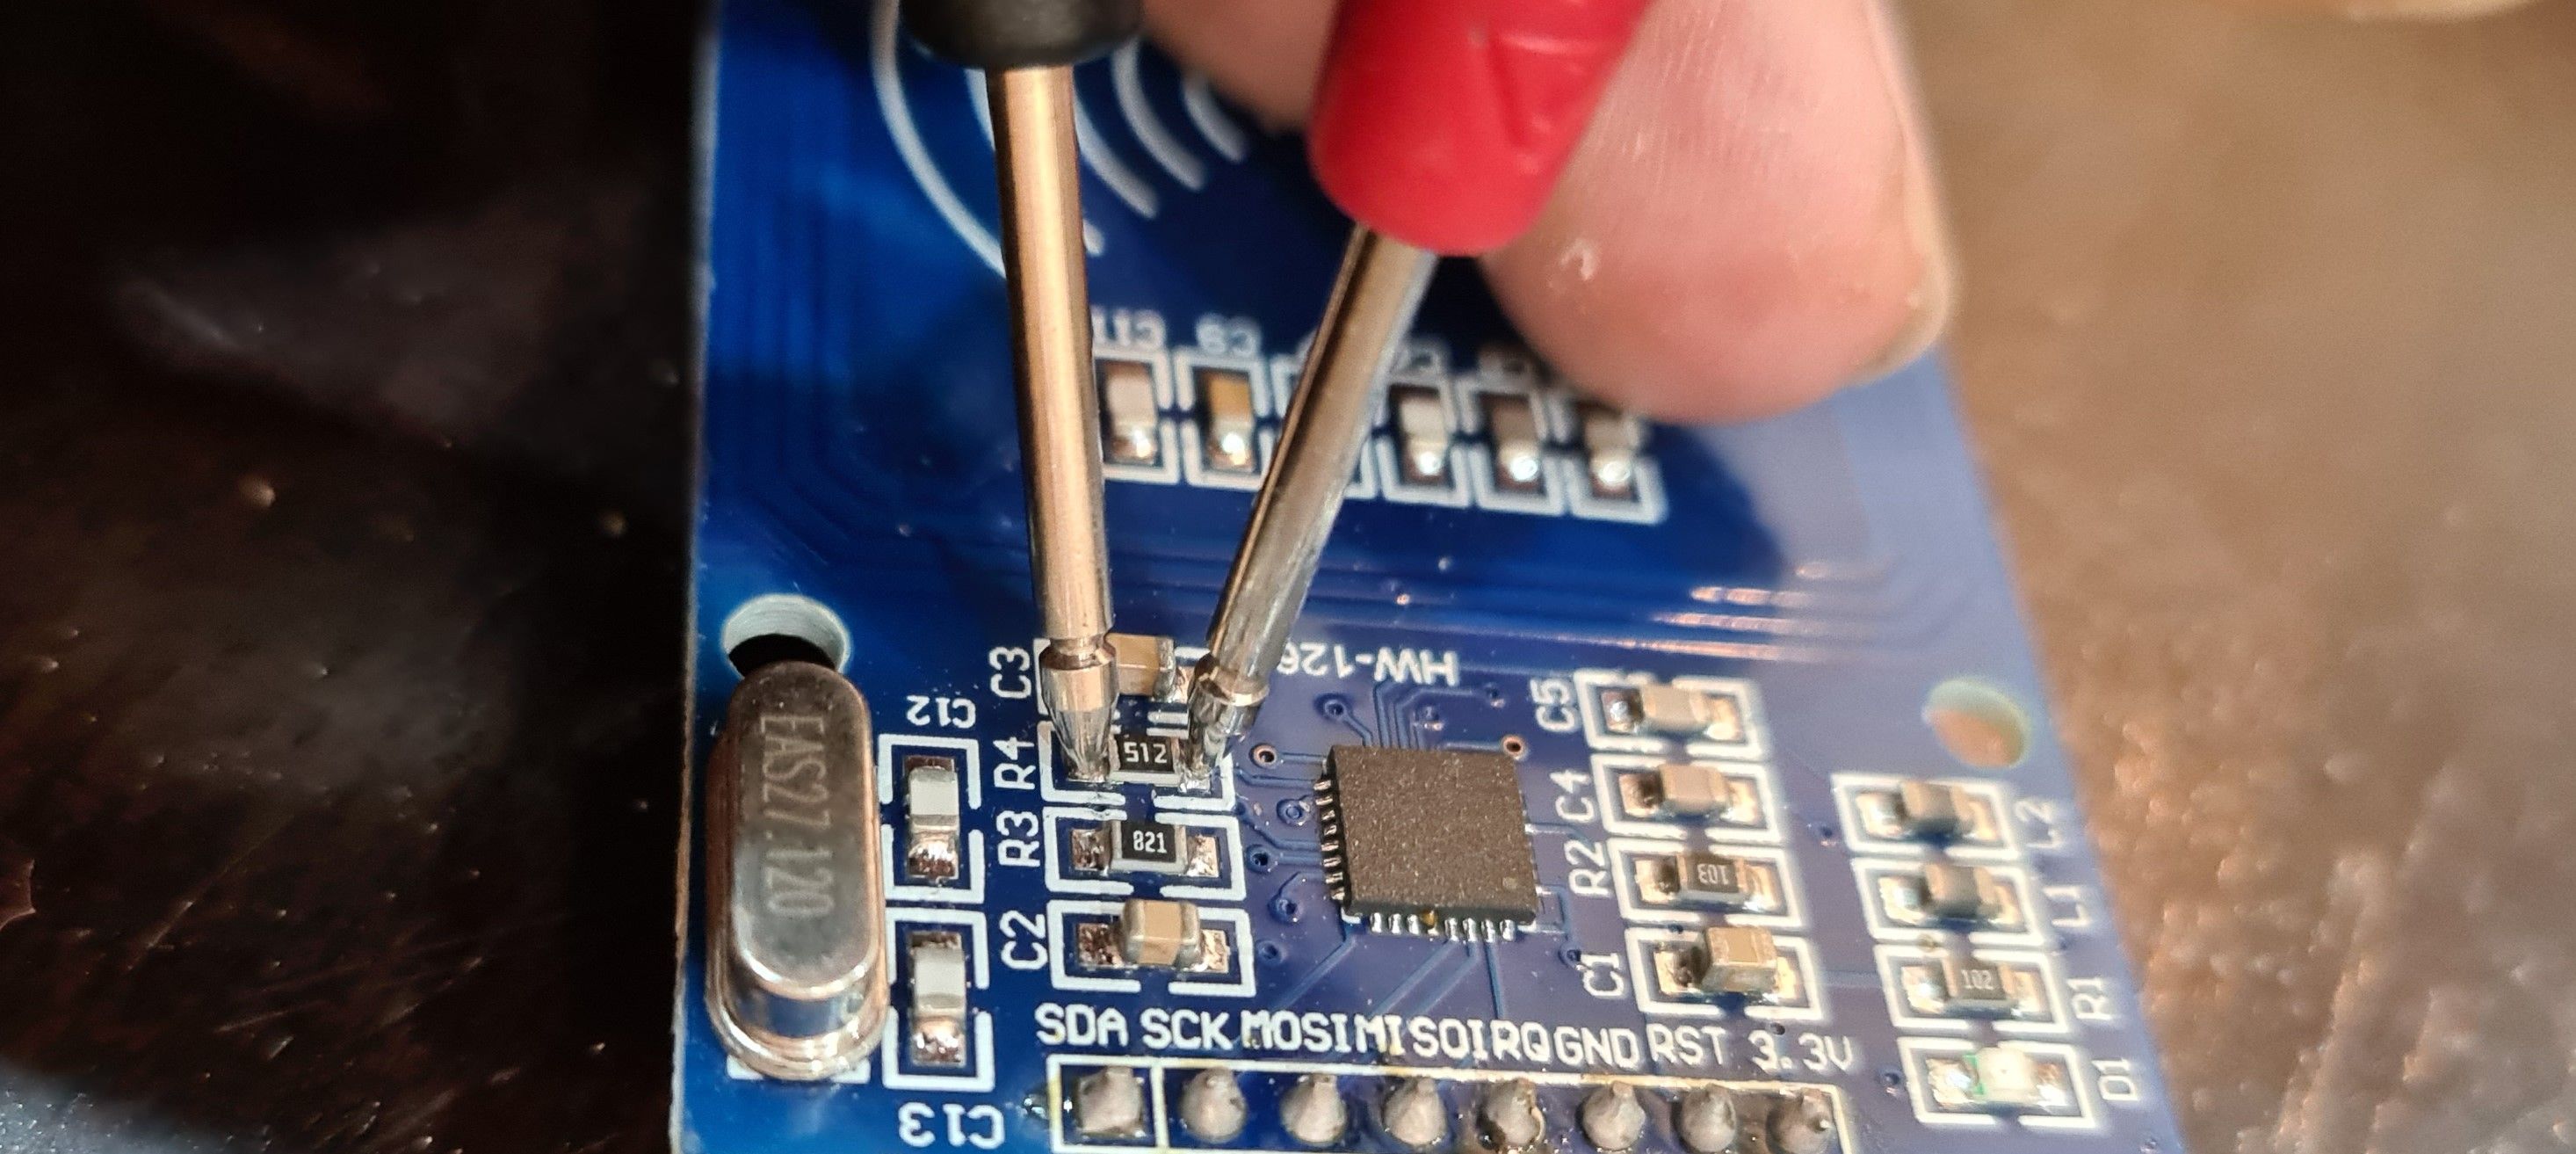
Similarly, to check if an SMD (surface-mount device) resistor is working or not, you can test or measure SMD resistor values. Connect the two multimeter probes to the SMD resistor terminals and check the value on the multimeter.
Finding Resistor Values Without a Multimeter
You can't measure a shorted or damaged resistor value using a multimeter. However, you can read the color bands on the resistor to find its value.
For instance, if a standard (metal film, carbon film, or metal oxide film based) four-band resistor has red, black, red as its first three bands, its value can be calculated as:
20 x 10² = 2,000Ω (ohms) or 2kΩ (kilohms)
SMD Resistor Values
Instead of colored bands, SMD resistors have three or four digits written on them, which you can interpret to calculate the resistor value. In a three-digit SMD resistor, the third digit indicates the index/power value of the 10x multiplier.
For instance, an SMD resistor with the 102 value indicates 10 (first two digits) x 10² (third digit) = 1000Ω or 1kΩ.
512 = 51 x 10² = 5,100Ω or 5.1kΩ
821 = 82 x 10¹ = 820Ω or 0.820kΩ
In a four-digit SMD resistor, the fourth value indicates the index/power value of the 10x multiplier. For instance, 8210 = 821 x 10º = 821Ω. Similarly, 8211 = 821 x 10¹ = 8,210Ω (8.21kΩ) and 8212 = 821 x 10² = 82,100Ω (82.1kΩ).
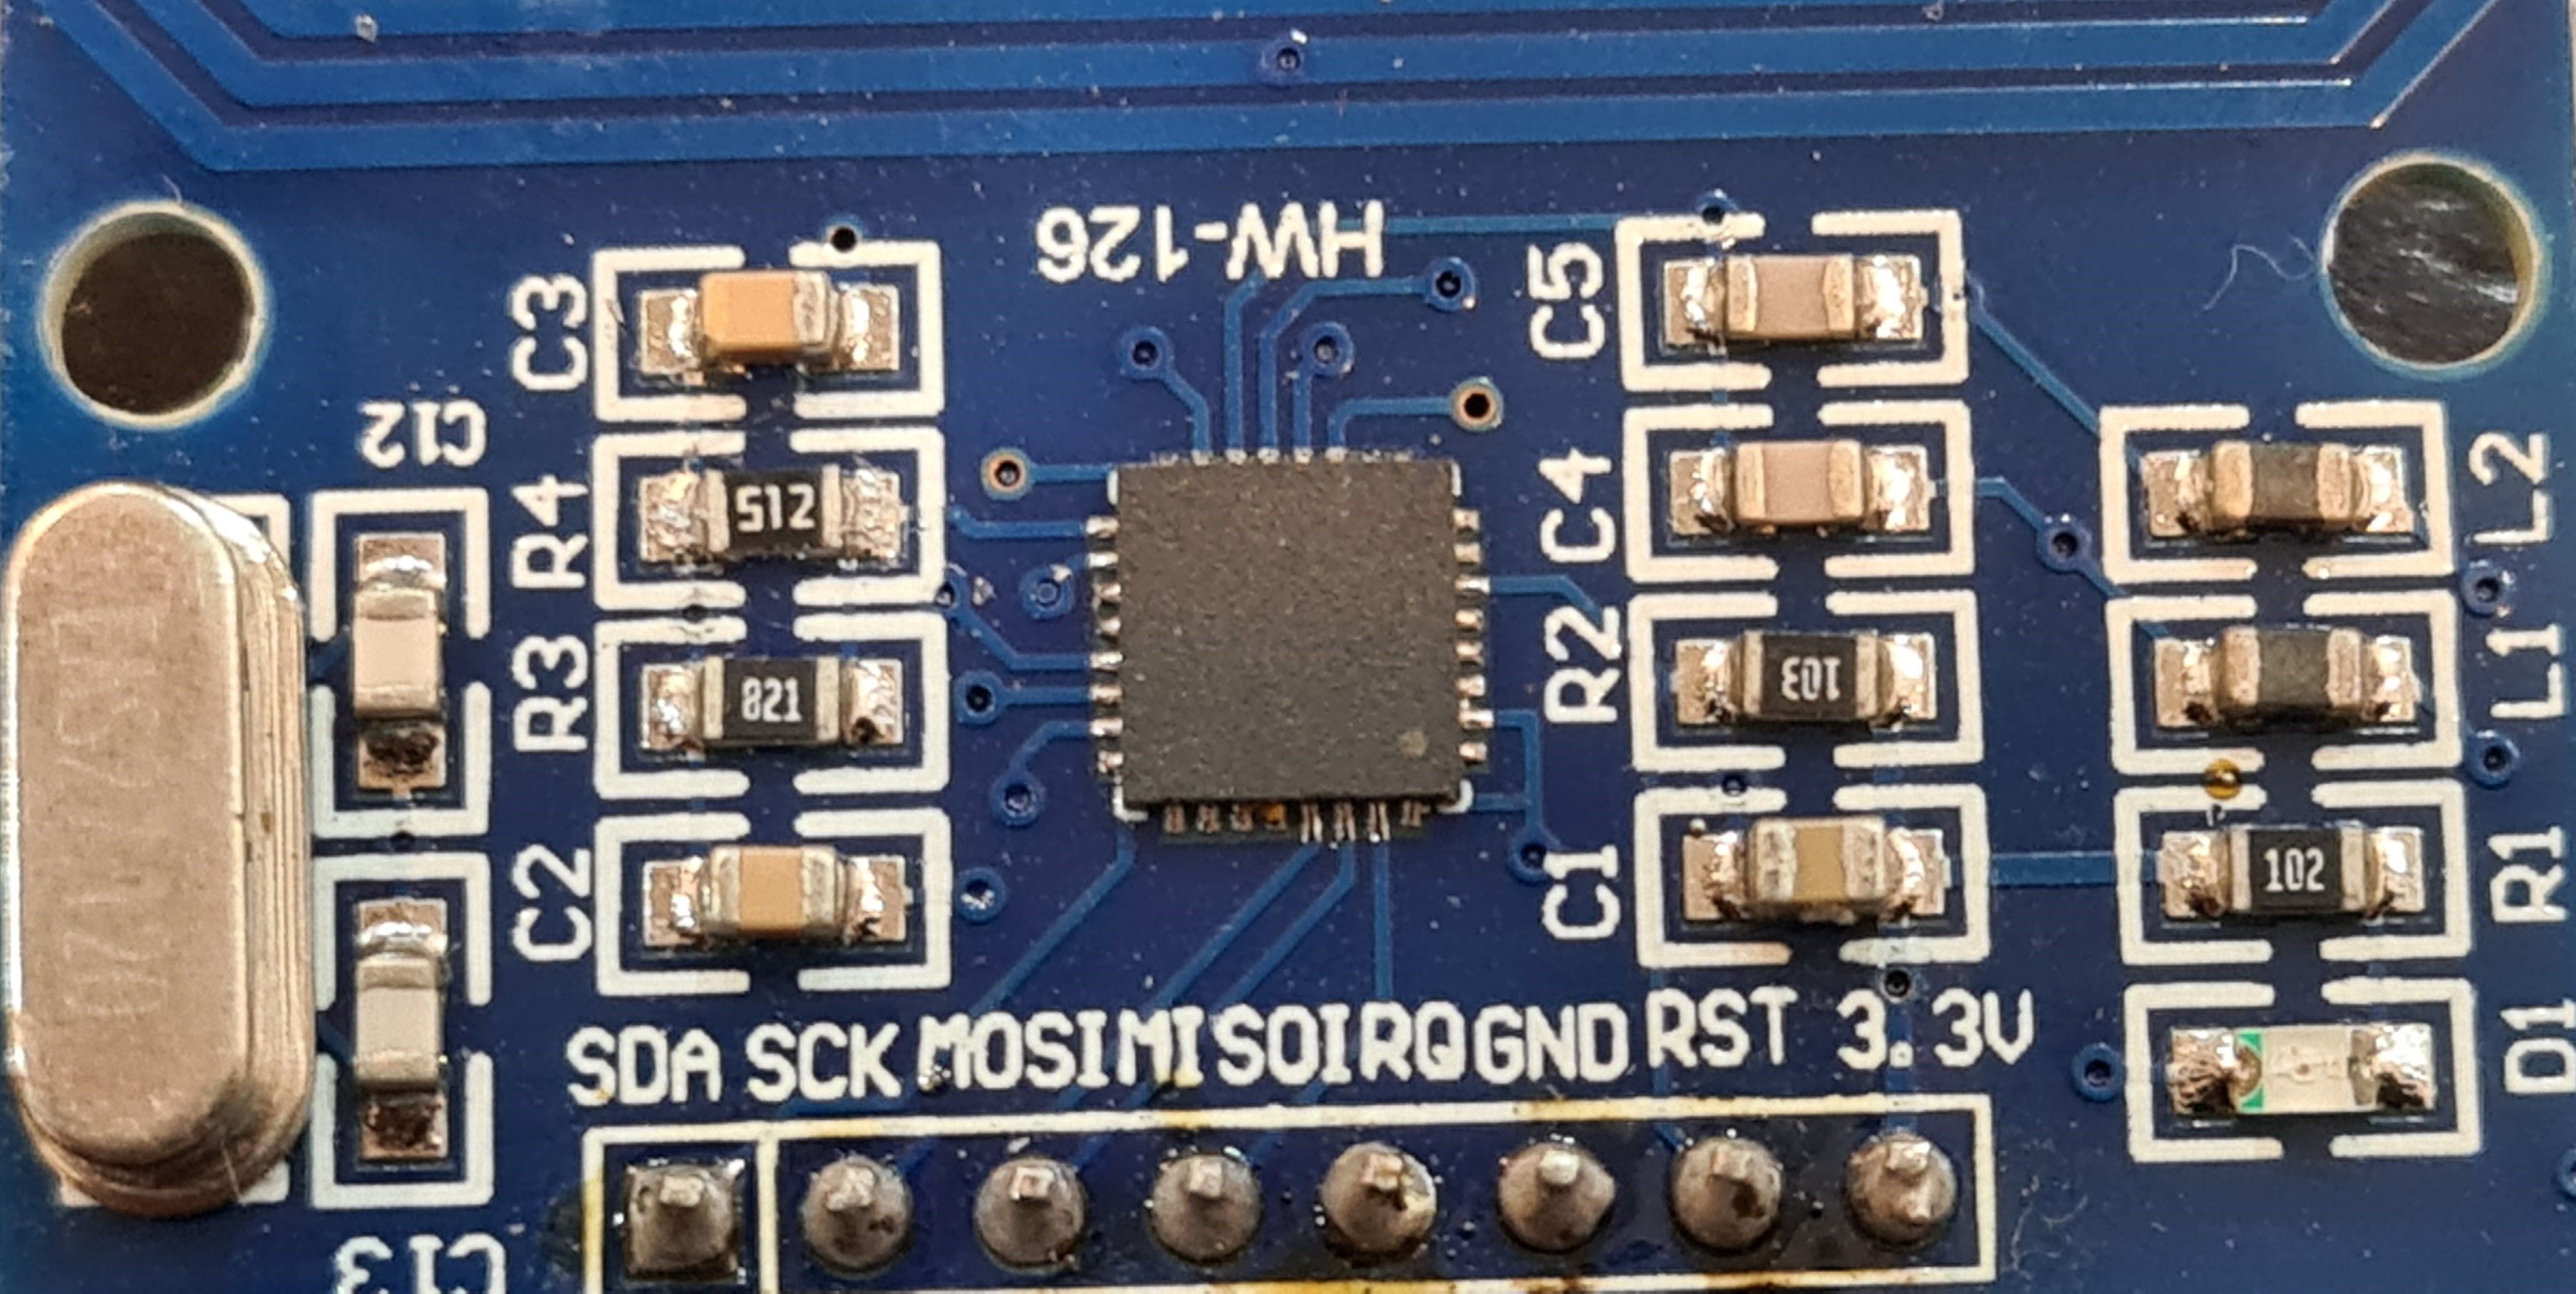
If there's an R value between the SMD resistor digits, it indicates a decimal point. For instance, 1R50 or 1R5 is 1.5Ω.
Once you find the resistor value, replace the damaged resistor with a new one. You can get a new resistor from a nearby hobby or online electronic component store and replace the bad resistor by desoldering it and then soldering the new resistor. If you are not experienced or have never soldered a component, learn how to solder.
Does Replacing a Bad Resistor Fix the Circuit?
Not necessarily. If the resistor got damaged due to malfunctioning of other components in the circuit or a high power supply, you must look into the source of the issue, as the new resistor may not survive long and may require replacement soon.
However, it's worth a try. If the resistor has failed due to some temporary issue, such as a voltage surge, you can use a surge protector to protect your circuits and appliances.
Source: https://www.makeuseof.com/how-to-test-resistor-is-bad-with-or-without-a-multimeter/
0 Response to "Multimeter Continuity Doesnt Work for Resistor"
Post a Comment